Wasabi
Steps to connect your Wasabi storage to SimpleBackups
How to Connect your Wasabi bucket to SimpleBackups
1. Create your Wasabi Bucket
- Sign in your Wasabi account at https://console.wasabisys.com
- Go to https://console.wasabisys.com/#/file_manager/ and click on "Create Bucket"
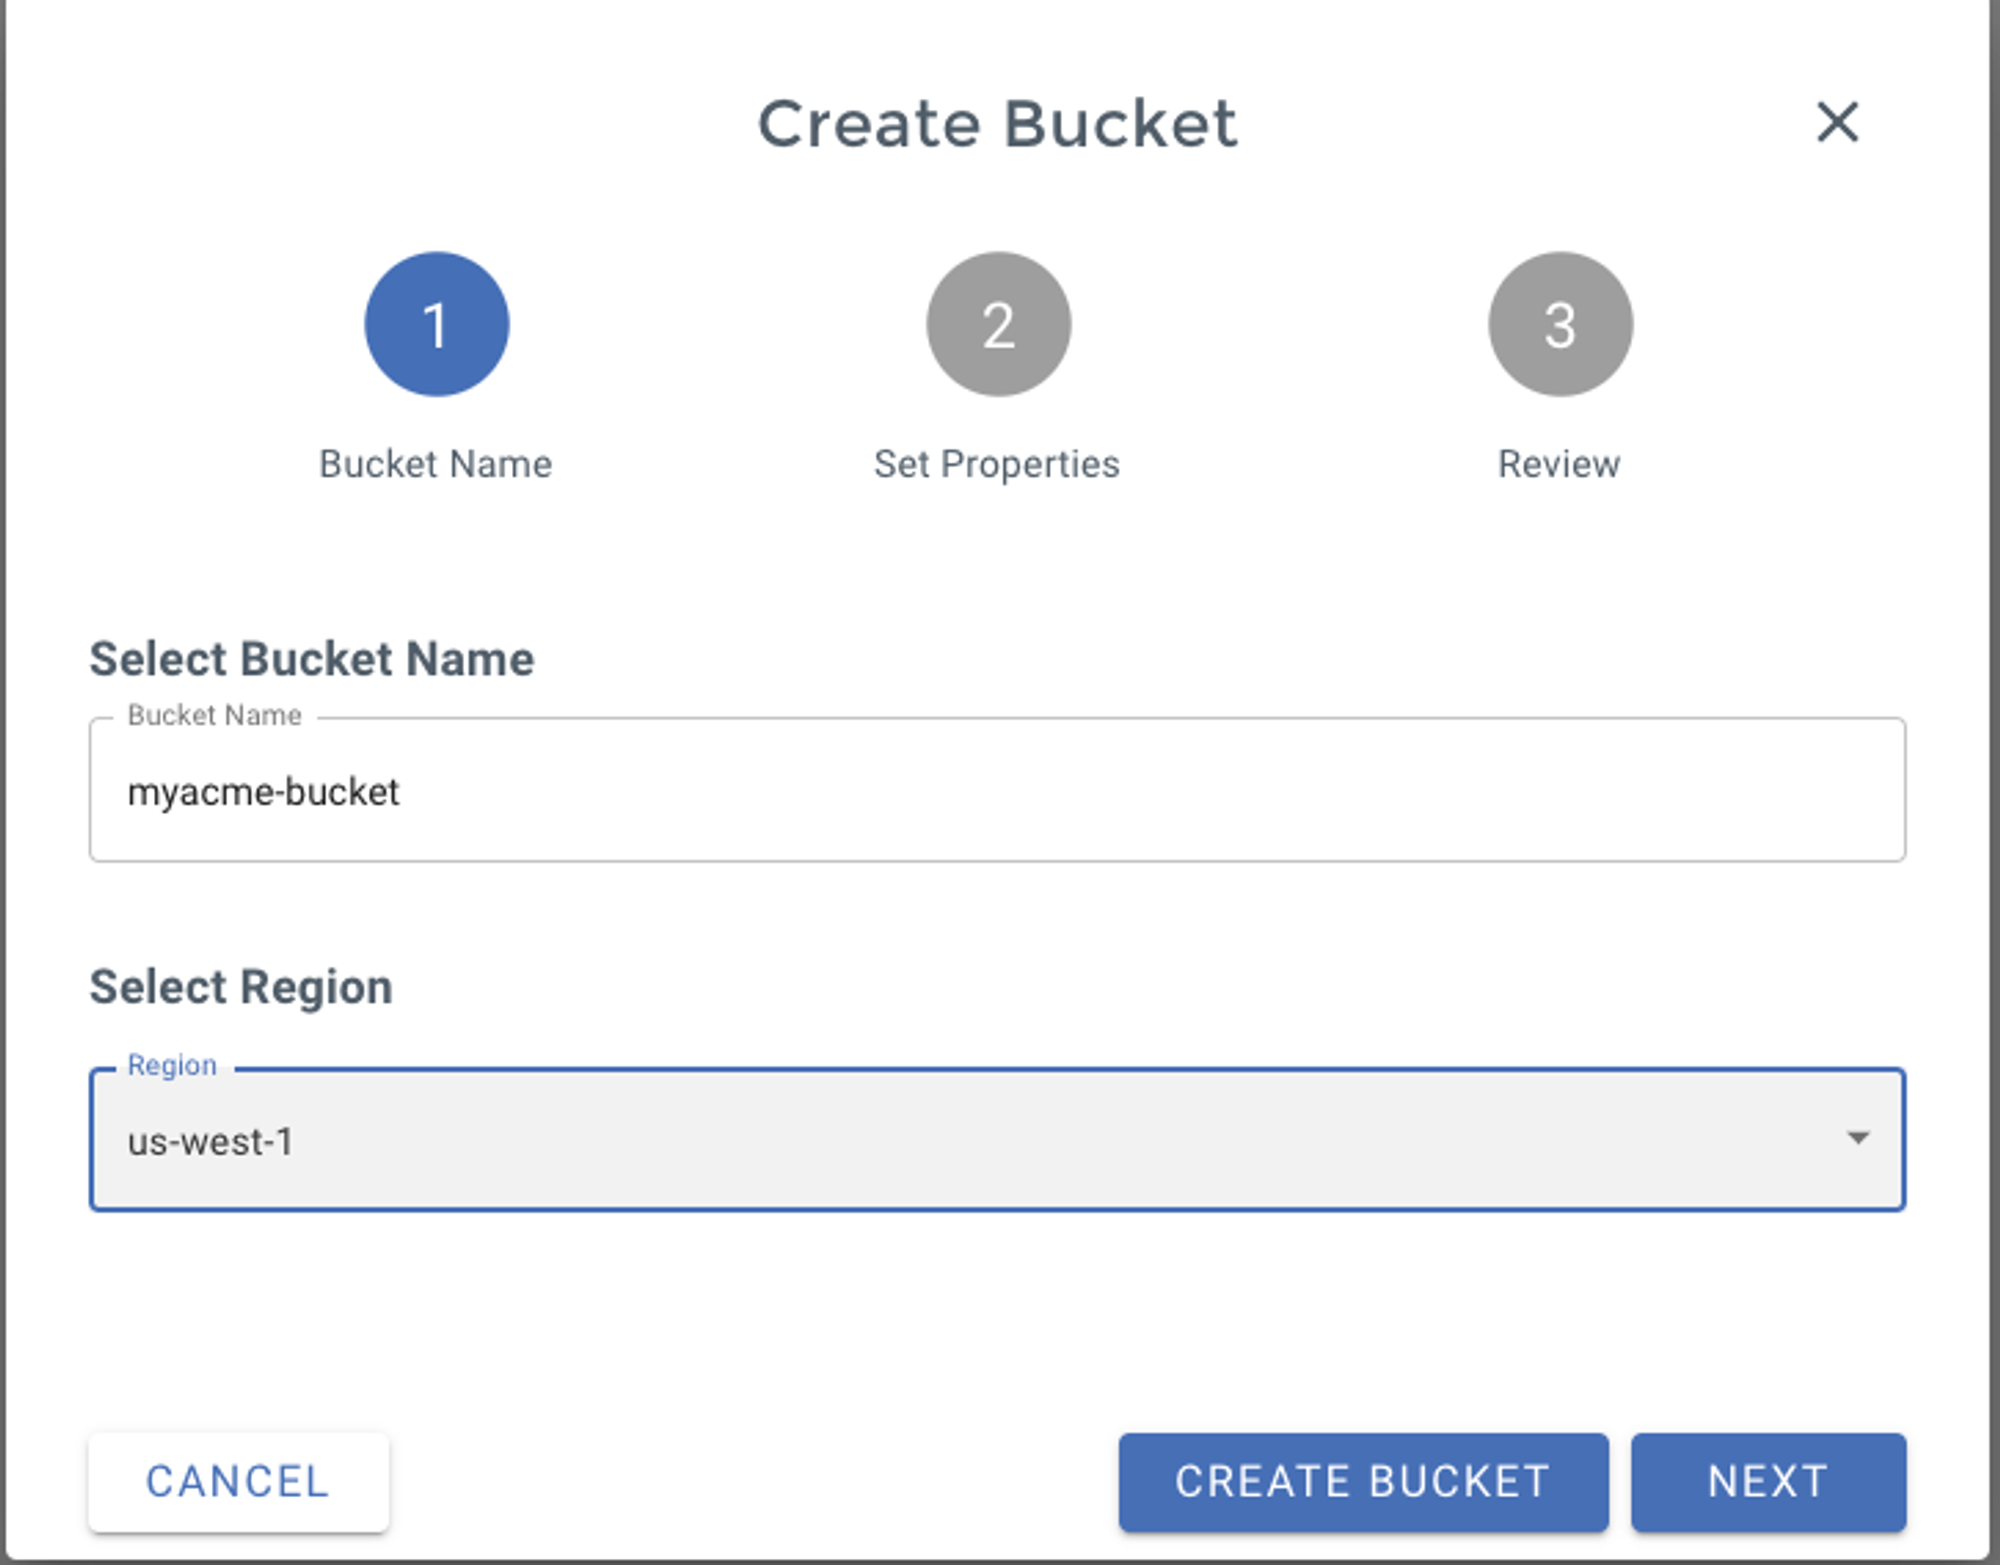
- On step 1 of the form, define the name of your bucket (we like to use our company name here)
- Pick the region you need (think about GDPR rules, if you're an EU company)
You can keep default options on step 2 and finally confirm your Bucket creation on step 3.
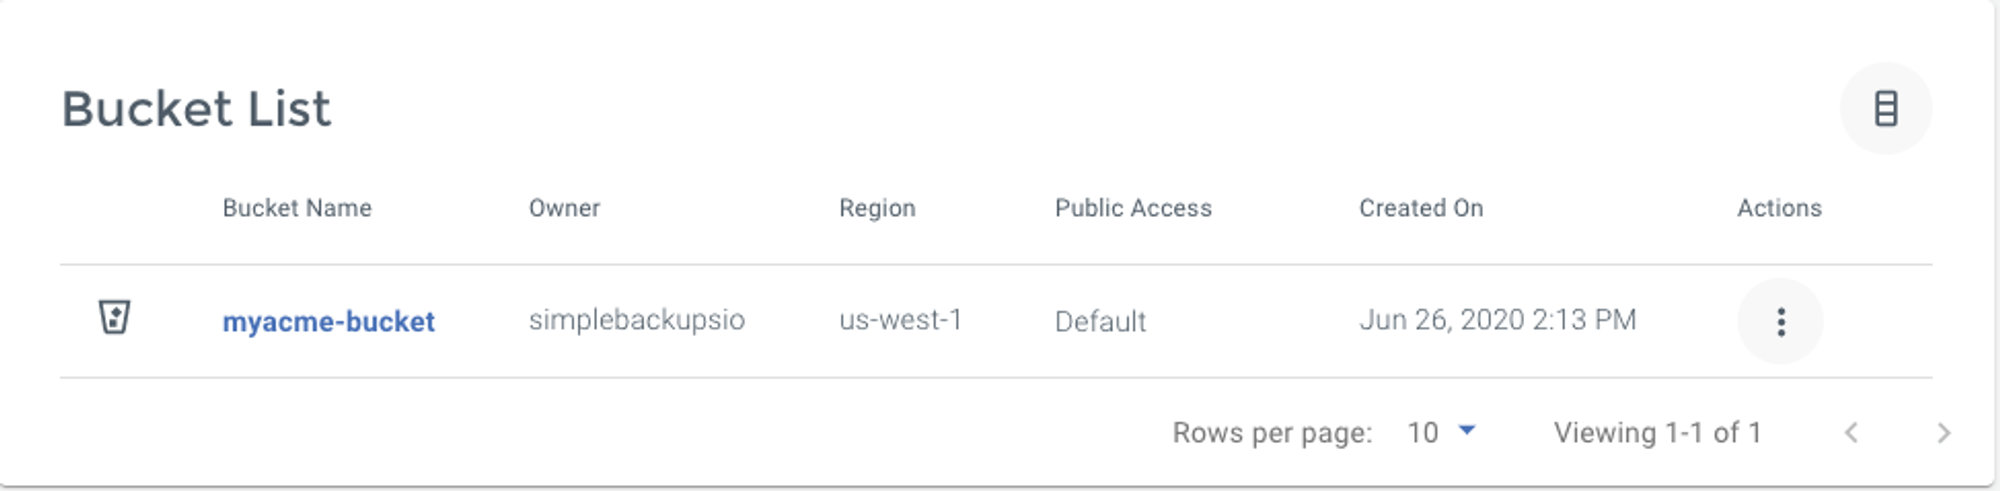
And that's one good thing done, your Wasabi bucket is created!
Don't leave the Wasabi interface, we'll now have to create your credentials.
Information you'll need in step 3:
- Your "Bucket" name, in this case, "myacme-bucket"
- Your "Bucket" Region, in this case, "us-west-1"
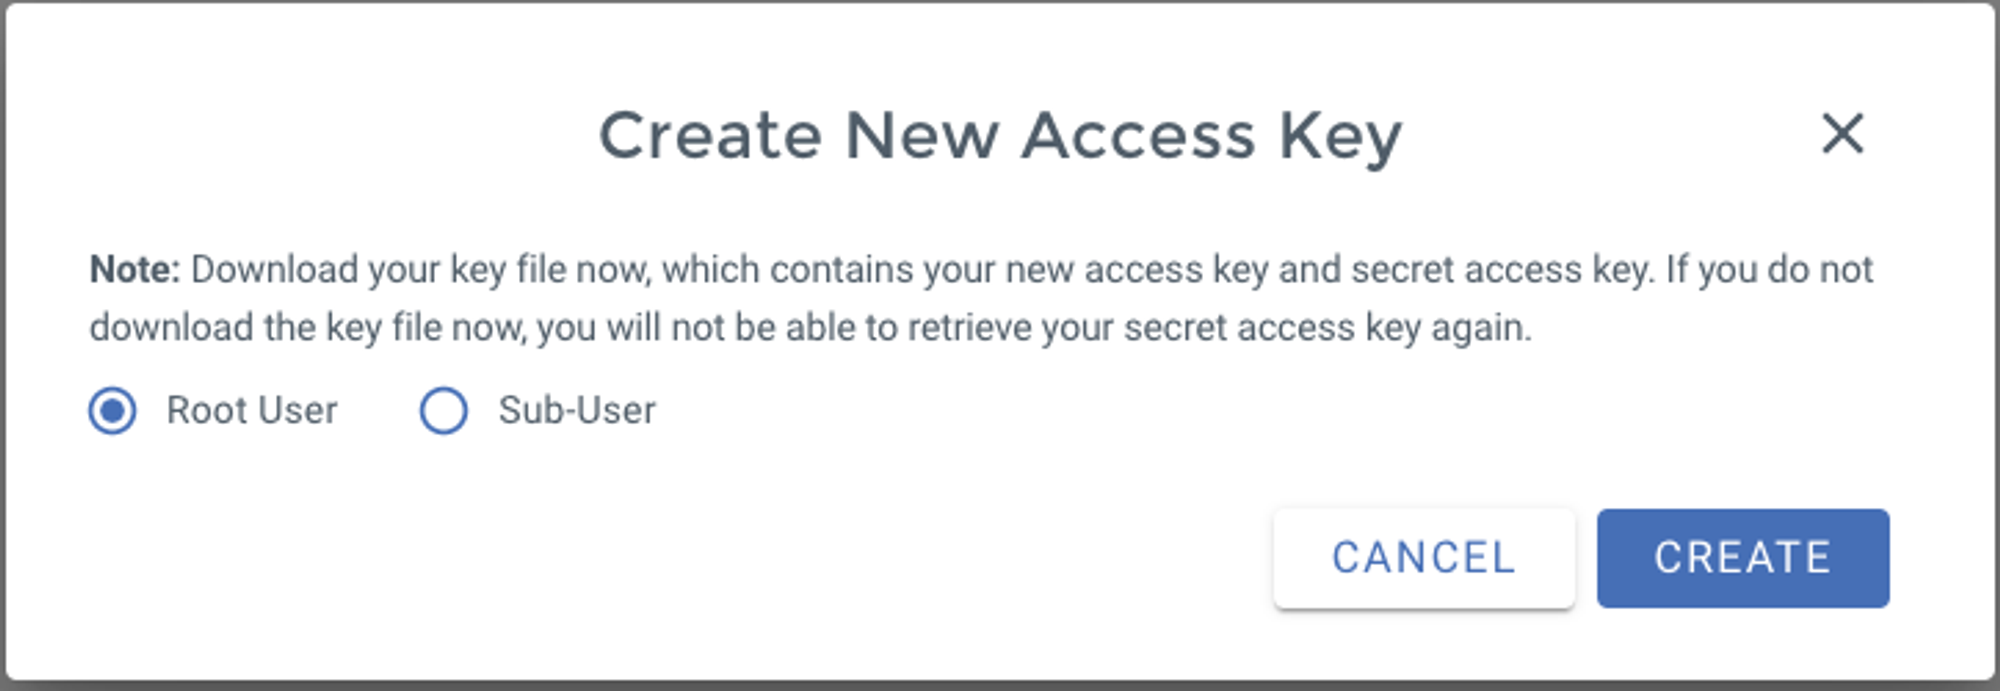
2. Create your Wasabi Credentials/Access Key
In order to grant access to your bucket, we'll need to create an Access Key.
- Go to https://console.wasabisys.com/#/access_keys and click on "Create New Access Key"
- You can go with the default options and pick a "Root User"
That's it you Access Key and Secret Key will be generated, make sure to write them down.
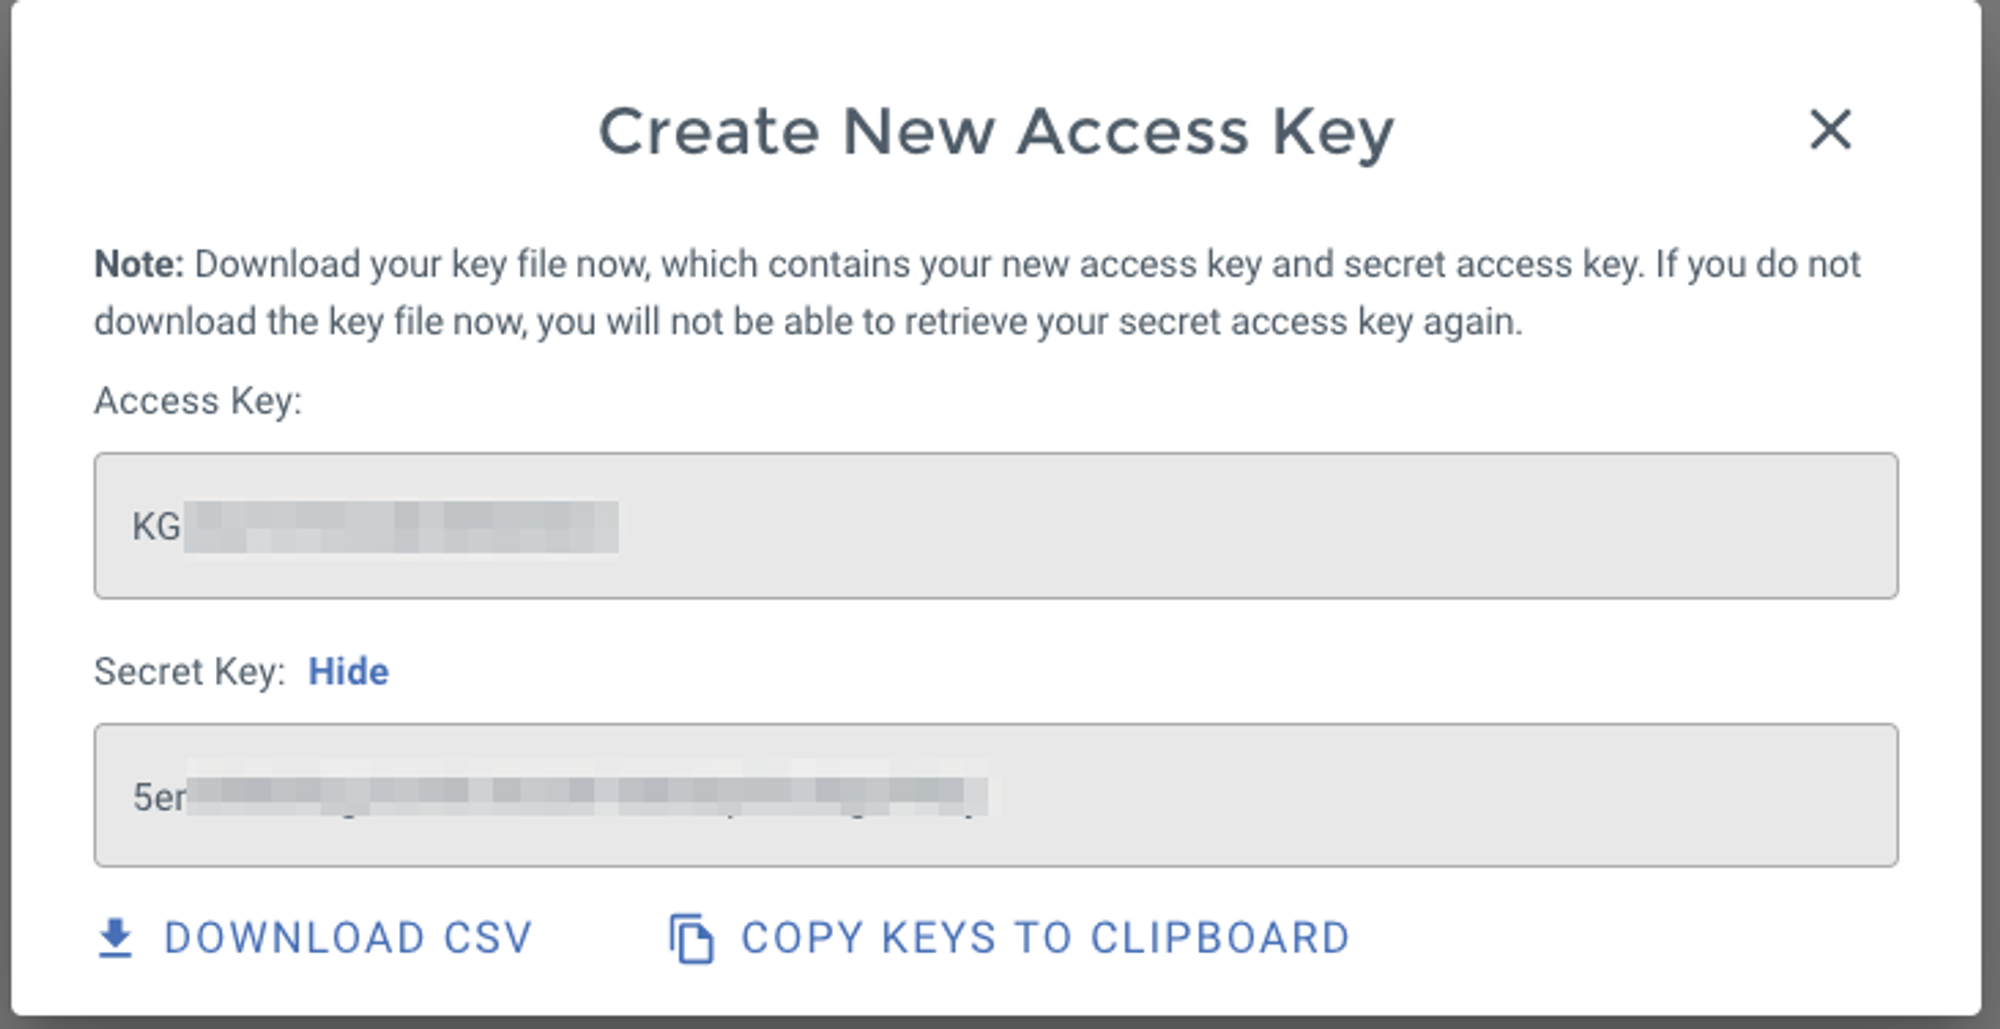
Information you'll need in step 3:
- Access Key
- Secret Key
3. Connect your Bucket to SimpleBackups
- Log into SimpleBackups and head to the connect your storage page
- Pick "Wasabi" as storage provider and fill in the "Connect your storage" form with the information from step 1 and 2.
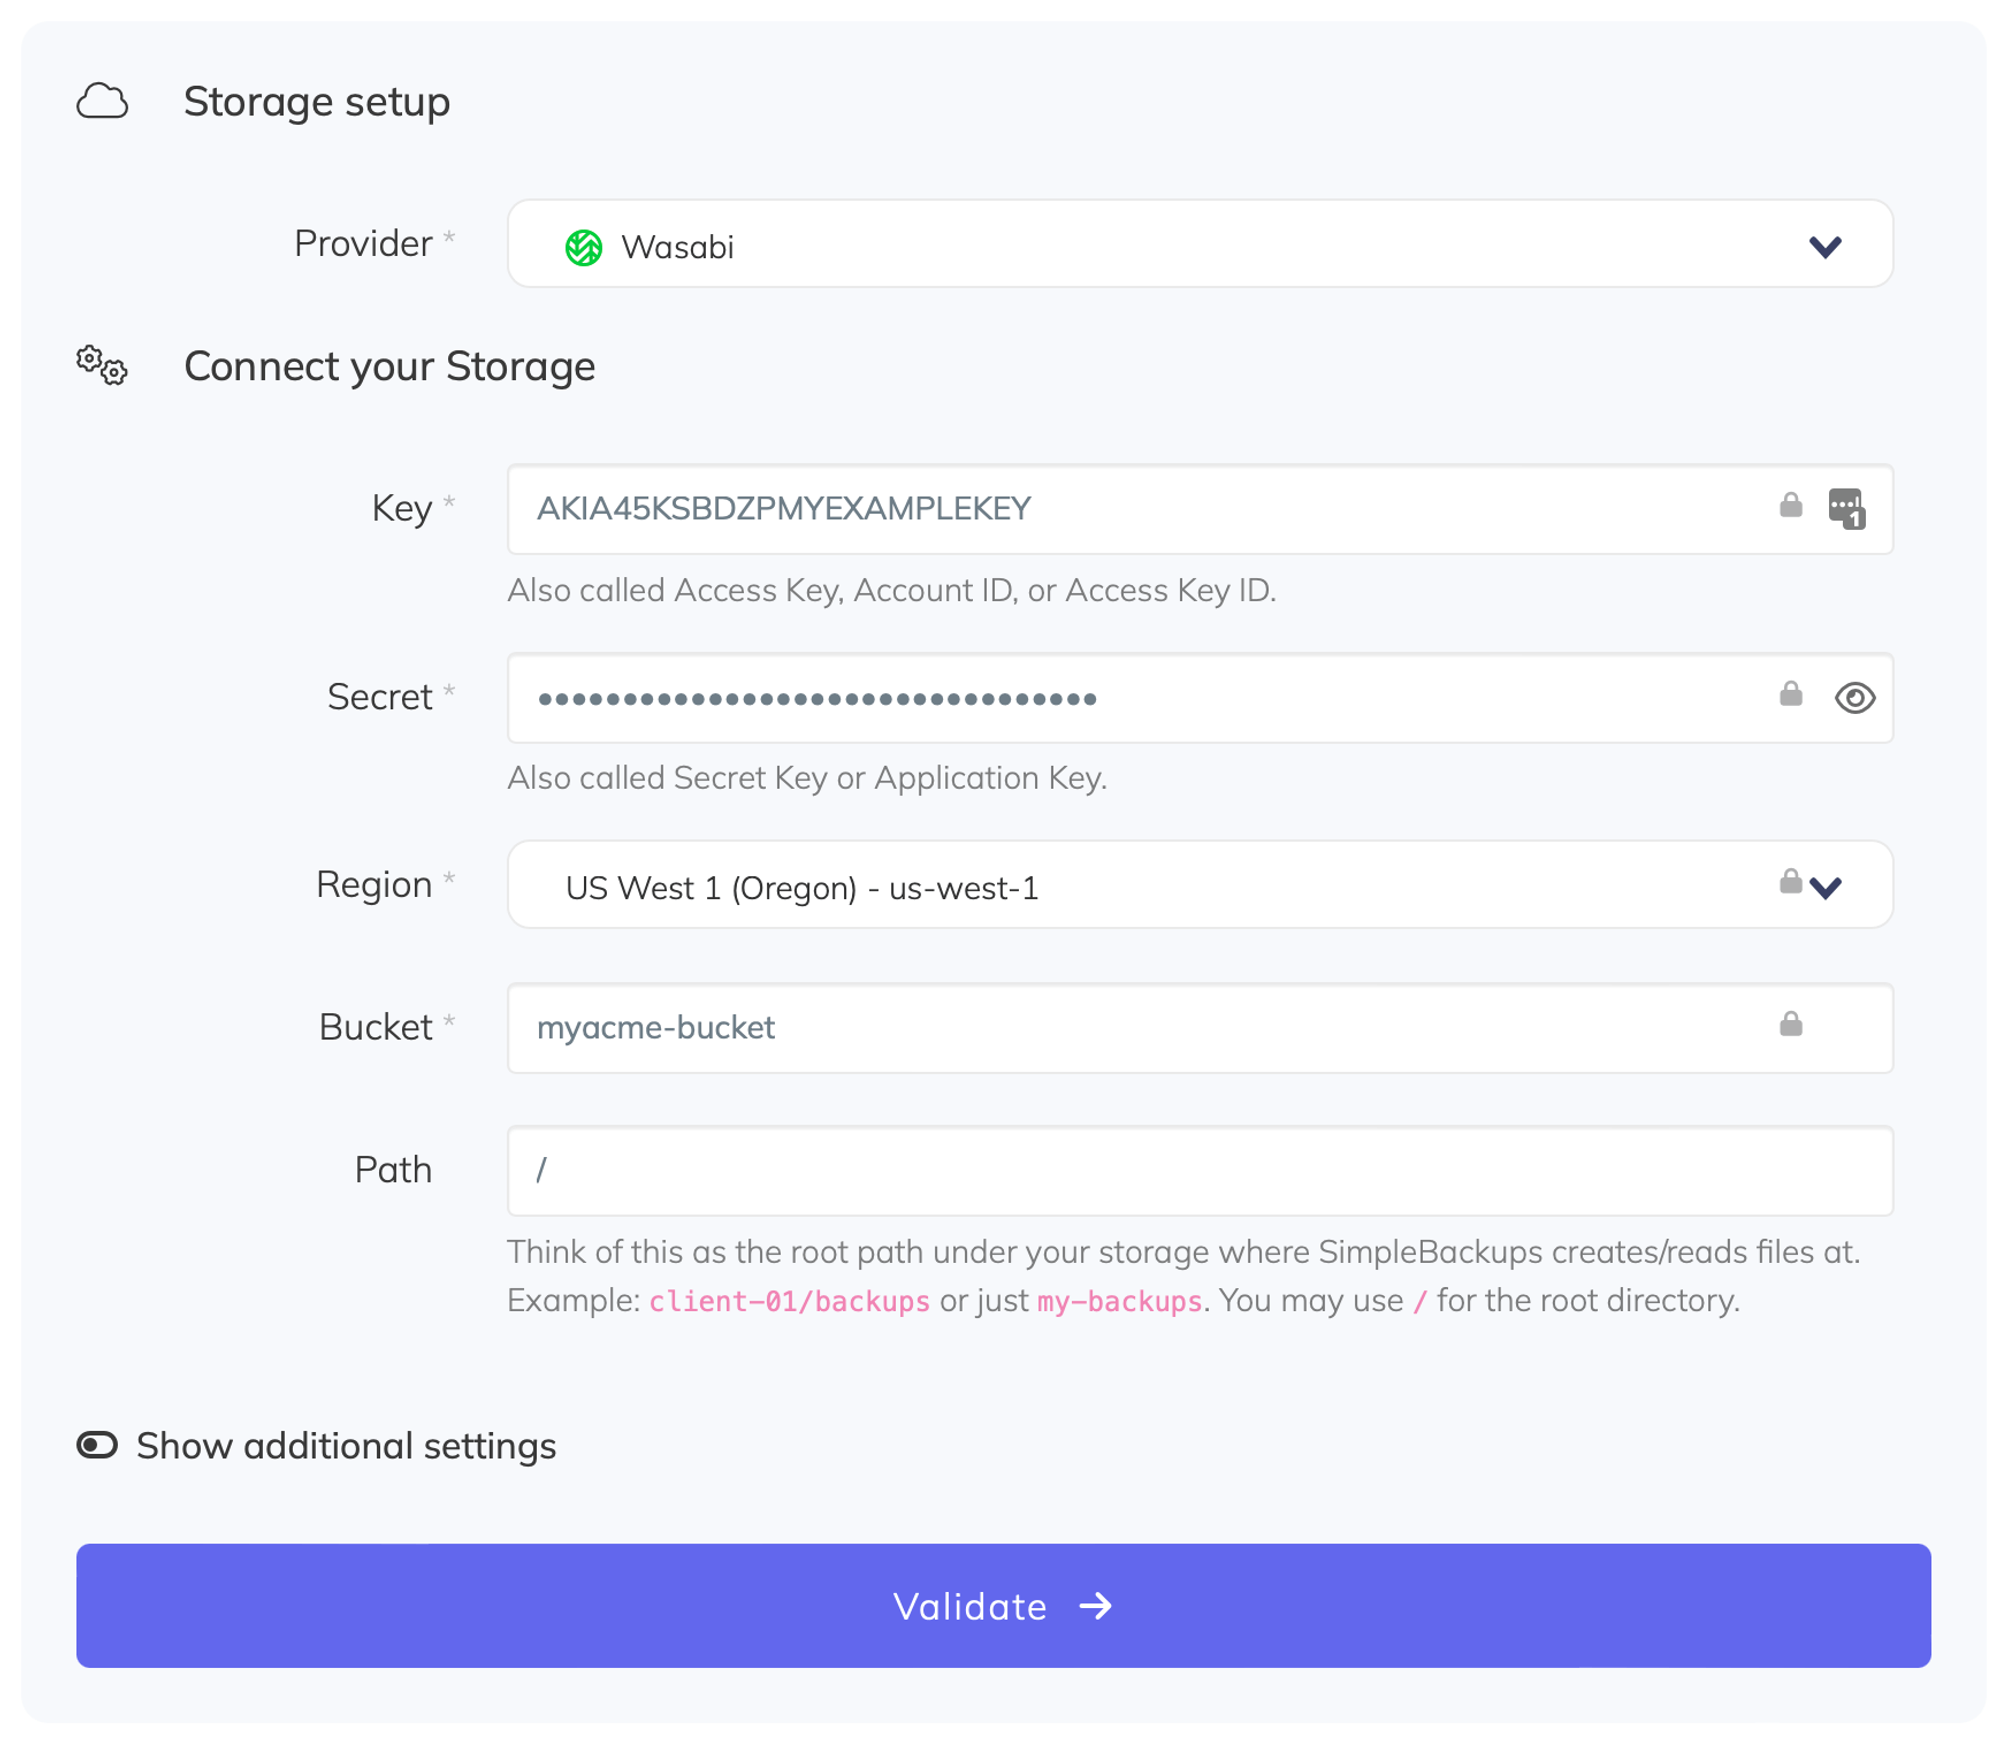
You'll have to input :
- Key: Access Key described in (step 2)
- Secret: Secret Key described in (step 2)
- Region: Bucket region described in (step 1)
- Bucket: Bucket name described in (step 1)
- Give your storage a name (usually we like to use the Bucket name) and click on "Save new storage".
Did this answer your question?
😞
😐
🤩
Last updated on August 4, 2021