Azure Blob
Steps to connect your Azure Blob storage to SimpleBackups
How to Connect your Azure Blob Storage to SimpleBackups
1. Create your Microsoft Azure Blob Storage
- Sign in to your Microsoft Azure Portal.
- Under Azure services, choose Storage Accounts. Your storage account list will be displayed. Choose the storage account you want to connect with.
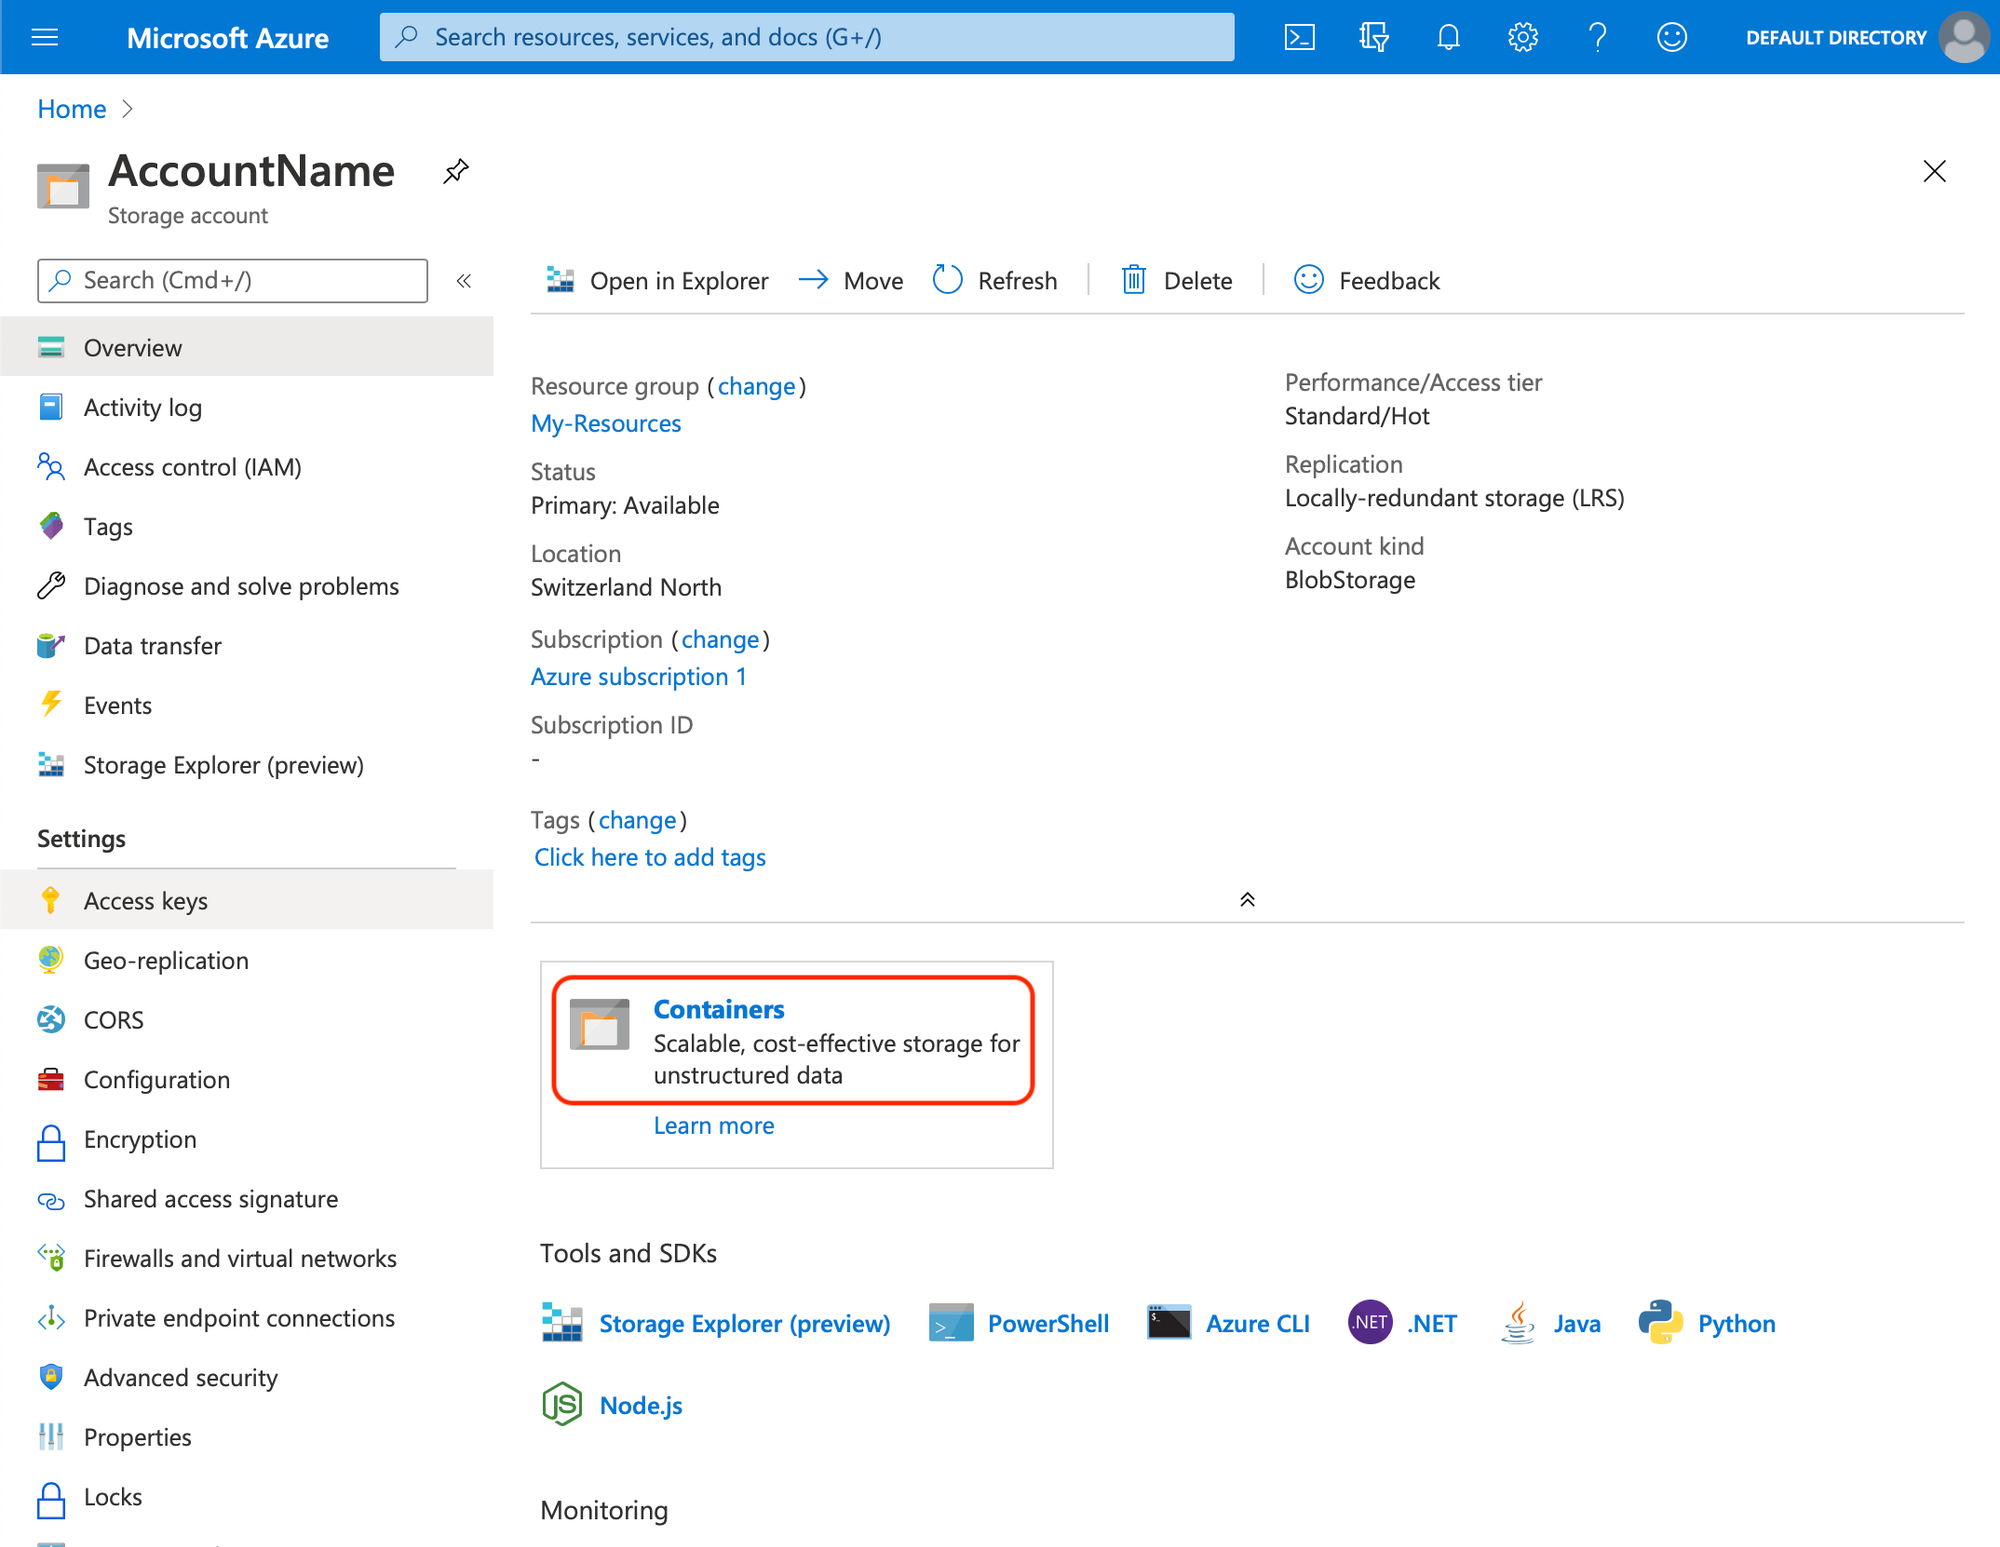
- On the left menu, under Blob Service, choose Containers
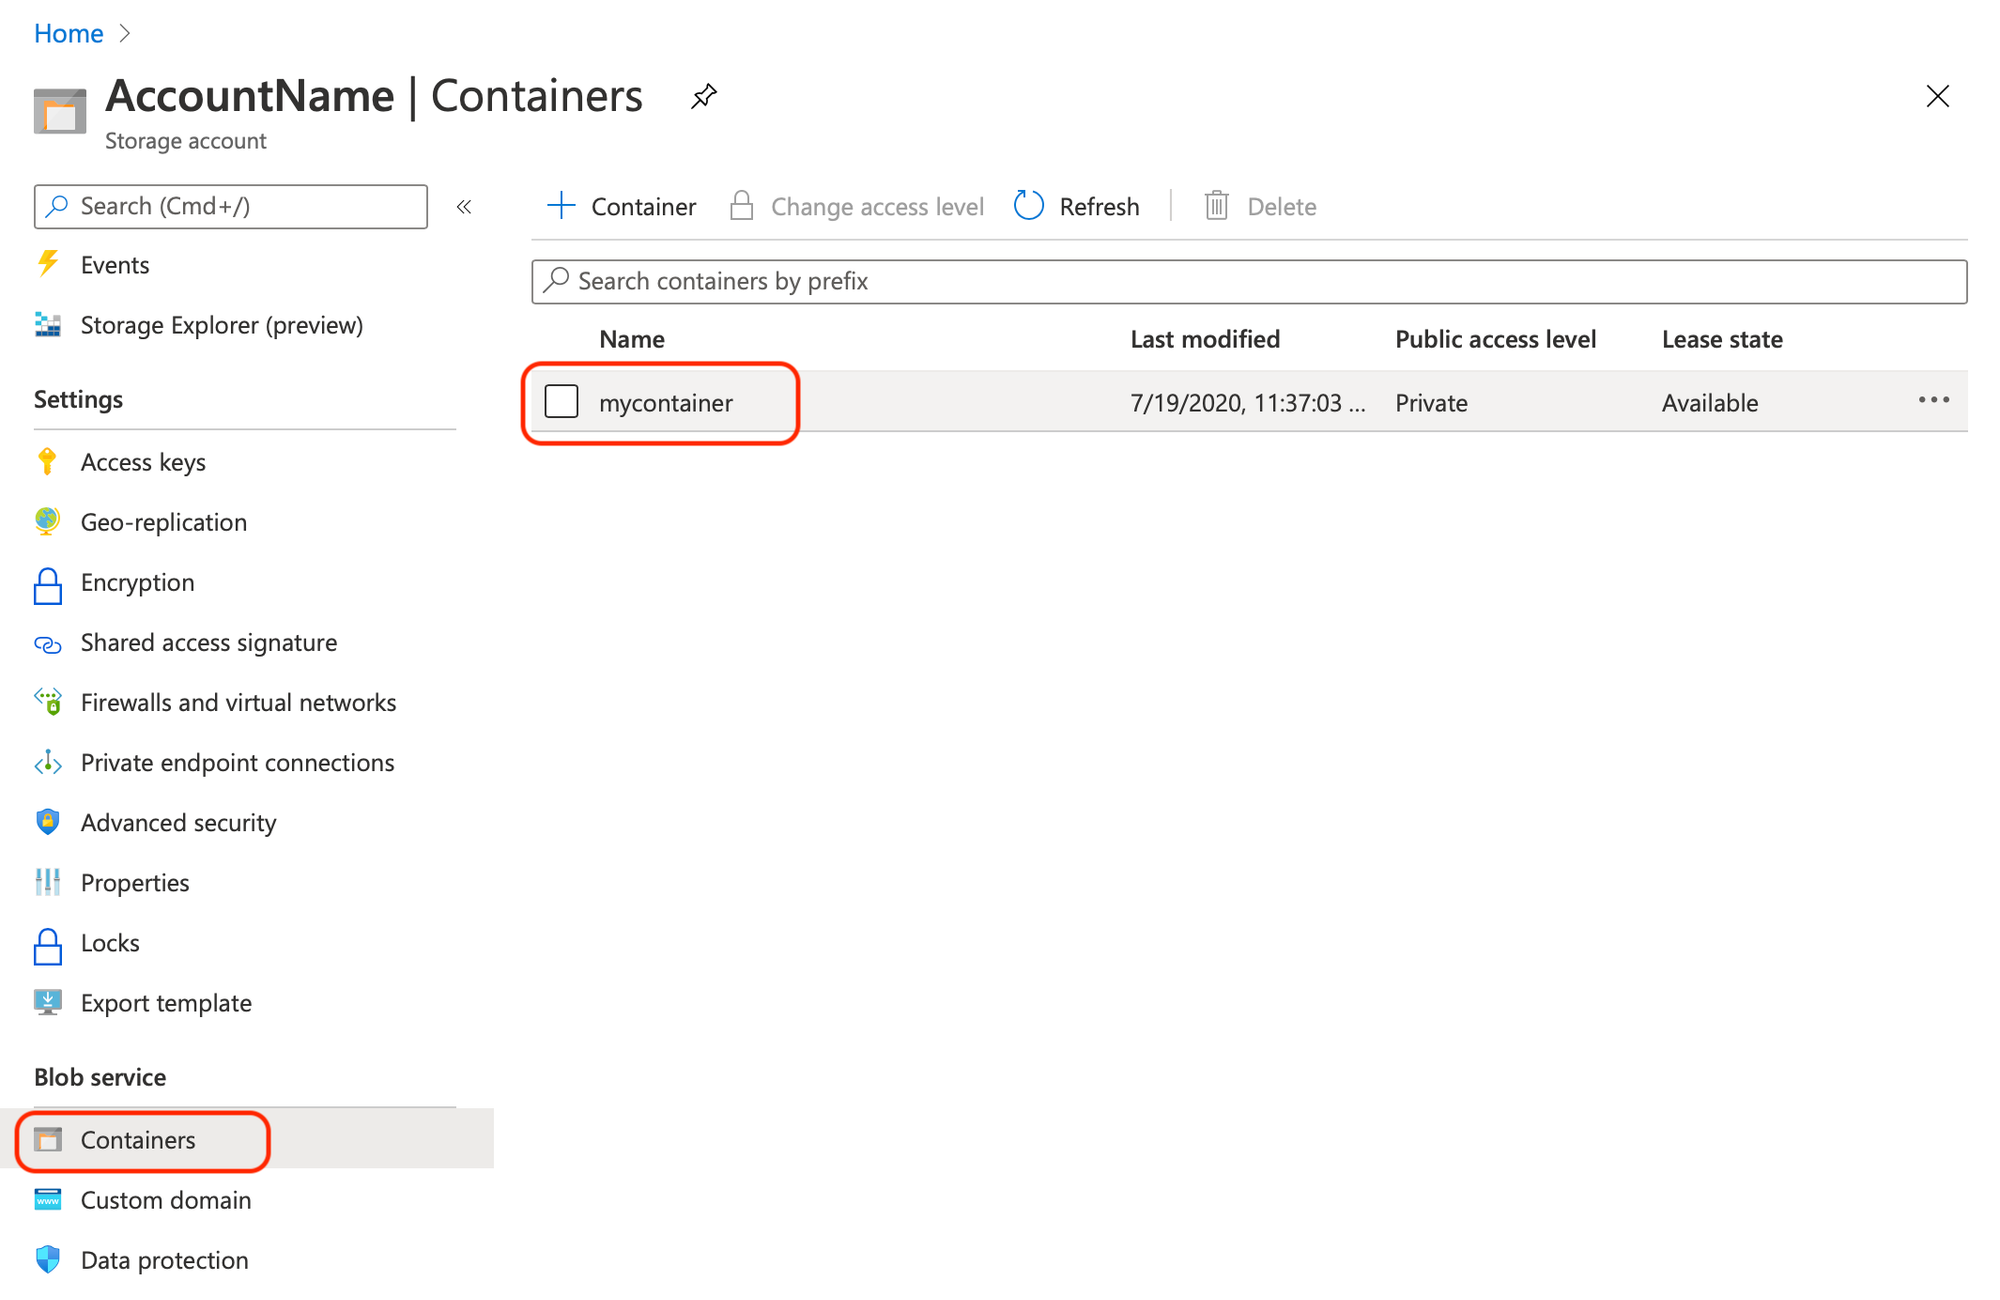
- Click + Container to add a Container. Input the name you want for the container and click the Create button
- Your container has been created.
Information you'll need in step 3:
- Container Name
- Storage Endpoint, in this case is core.windows.net
2. Get your Storage Access Keys
In order to give access to your newly created storage, you'll need to provide credentials to SimpleBackups.
- On the left menu, under Settings, choose Access Keys.
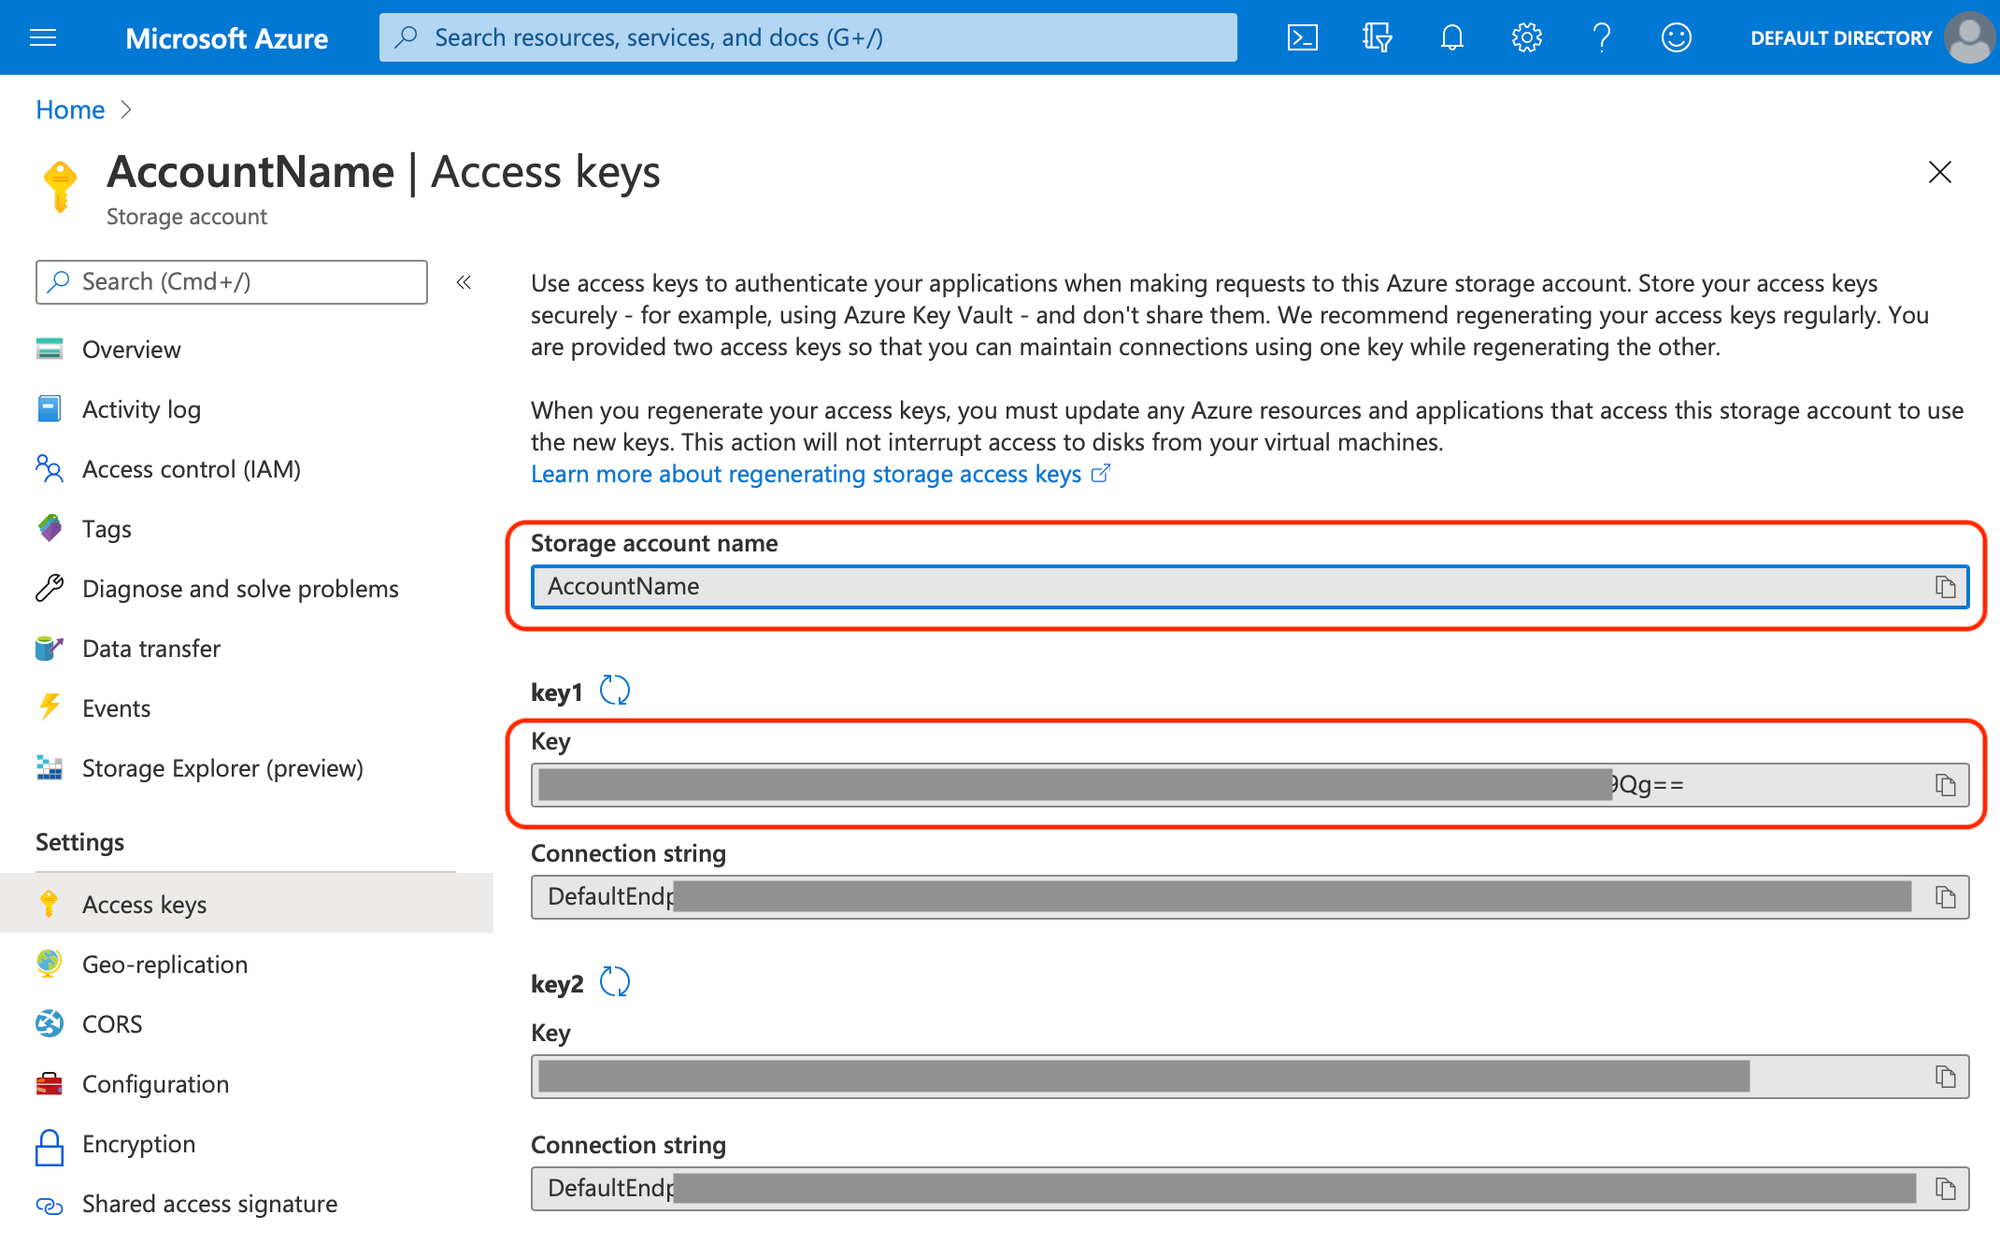
- Please use the Key value under key1 as your access key.
Information you'll need in step 3:
- Access Key
- Storage Account Name
3. Connect your Bucket to SimpleBackups
- Log into SimpleBackups and head to the connect your storage page
- In the storage provider list select "Azure Blob Storage", and fill in the form with the information from step 1 and step 2
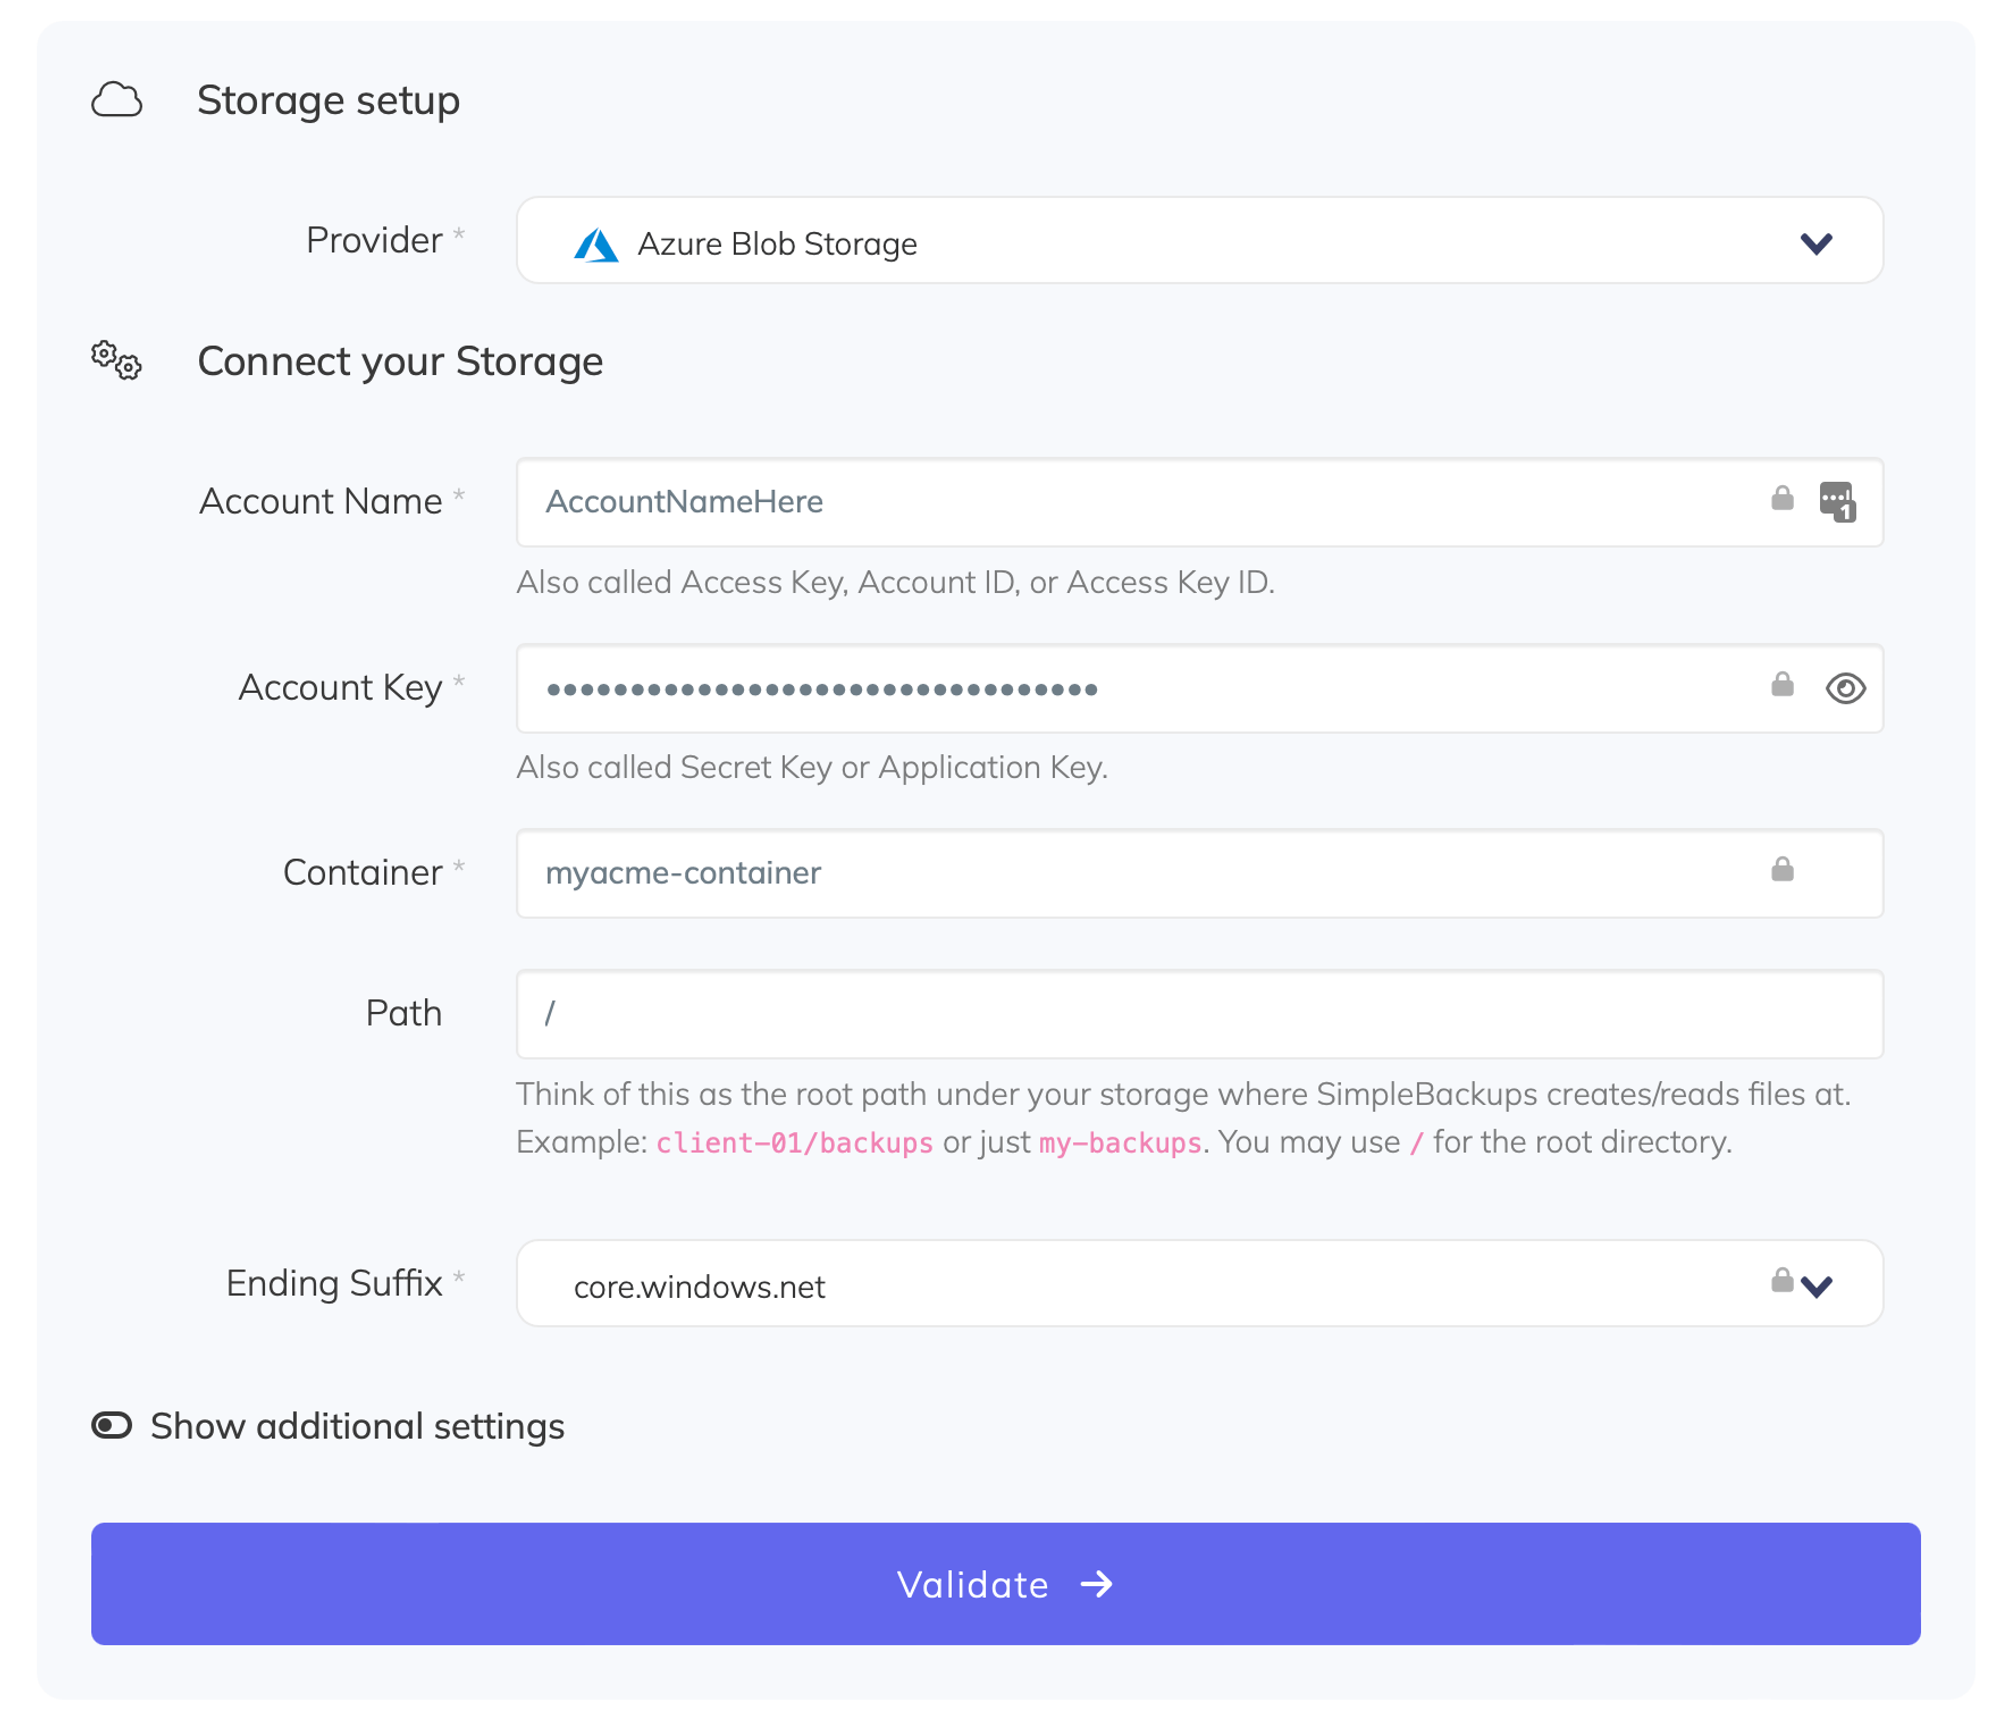
You'll have to input :
- Account Name: Account Name described in (step 2)
- Access Key: Secret Key described in (step 2)
- Container: Container name described in (step 1)
- Ending Suffix: your storage endpoint described in (step 1)
- Give your storage a name (usually we like to use the storage name) and click on "Save new storage".
Did this answer your question?
😞
😐
🤩
Last updated on August 4, 2021